How to Childproof Your Home Room by Room
Childproof your home room by room: risk audit, furniture anchoring, gates, outlet covers, water safety, poisons, and emergency numbers at home.


- Childproofing happens in stages, not in one shopping trip. Start on your knees at your child's height.
- Anchor every tall or heavy piece of furniture and every television. Tip-overs are a risk easily postponed.
- Recheck the house when your child learns a new skill; crawling, walking, and climbing expose different hazards.
A box of childproofing gear arrives, and the weekend disappears into outlet covers, cabinet latches, and foam corners. Days later, a toddler pulls open a dresser drawer, steps onto it, and the whole piece tips forward. The gear was not wrong. It addressed what was visible at adult height.
Kneel in each room instead. At a toddler's eye level, the list changes: lamp cords, a low shelf, a chair pushed against the counter, a bucket in the laundry room. Childproofing is less about products than about removing the paths a small person finds.
This guide works room by room, then through protections that cross rooms: anchoring furniture, gates, windows, water, poisons, and emergency numbers. It is general guidance, not medical advice. Follow product instructions and local rules, and hire a professional for structural or electrical work.
Crawl the house before you shop
Walk through each room on your knees or sit on the floor. Look for four things: what a child can reach, what can be pulled down, what can be opened, and what fits in a mouth. A phone note is enough; mark each item as fix now, buy, or ask.
Age changes the list quickly. A baby who cannot crawl is mainly at risk from what adults set down: hot drinks, small items, a running bath. A crawler finds cords, pet bowls, and low cabinets. A walker reaches counters and pulls on furniture. A climber uses drawers and chairs as stairs. Preschoolers defeat simple latches and head for the garage; school-age children need rules for tools and medication.
Treat the first pass as an audit, not a renovation. Fix what takes a minute — move the knife, empty the bucket, shorten the cord. Put the rest on a list by room. Buying everything in advance usually means returning half the kit.
Supervision and barriers do different jobs. A gate buys seconds; it does not replace an adult. Remove the obvious route to harm, and leave only risks a nearby adult can catch.
Room by room: the four hot zones
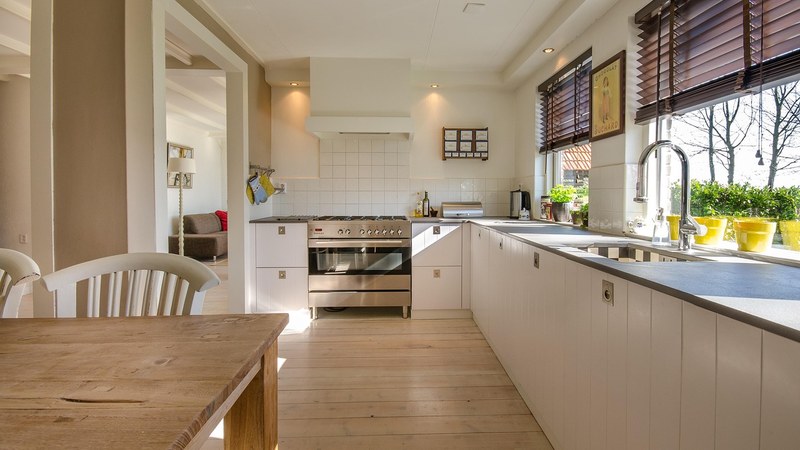
Kitchen. The stove is the place to start. Turn pot handles to the back, use back burners when you can, and keep children away from the oven door. A stove guard helps, but nothing replaces keeping hot food and drinks at the center of the table. Store knives in a block pushed back from the edge or in a latched drawer. Move dishwashing pods to a high, latched cabinet; they look like candy and dissolve fast. Latched under-sink cleaners and a trash can lid cover the rest.
Bathroom. Water and medication matter most here. Set the water heater or tub so the water is warm, not hot, and test it with your wrist. Keep medicines, vitamins, razors, and hair tools in a locked cabinet. A toilet lock is worth it. Use a non-slip mat, and never step away while a child is in or near water.
Stairs and hallways. A gate at the top of the stairs should be fixed to the wall or banister; a pressure gate can slip when a child leans on it. At the bottom, choose a gate that suits the staircase. Check gaps between banister rails, keep the path clear, and add a night light in the hallway.
Living room. Televisions, lamps, and glass tables get attention, but cords and small objects matter too. Tie up or cover dangling cords, move floor lamps behind furniture, and put corner guards on sharp edges. A fireplace needs a barrier, a space heater needs clearance and a tip-over switch, and any reachable plant should be checked against a list of harmful plants.
Bedrooms, laundry, and garage. In a nursery, use a firm mattress that fits the crib and keep soft bedding and bumpers out. Move the crib away from windows and blind cords. In the laundry, lock away detergent pods. In the garage, lock tools and garden chemicals, and treat the parked car as a hazard: children can get in and cannot always get out.
Anchor furniture and televisions
Tip-overs follow a pattern. A child pulls out a drawer, steps on it, and the weight shifts forward. A television on a low stand tips when a child grabs the screen. A bookshelf with toys on top invites climbing. None of this needs a large child or a heavy push.
Anchor anything taller than it is wide, anything with drawers, and anything a child can climb: dressers, bookshelves, wardrobes, TV stands, mirrors, and tall lamps. Installation matters more than the kit. Attach to studs or to the wall material the manufacturer specifies. If you are unsure what is behind the drywall, ask a professional. A strap that pulls out of the wall is worse than none because it creates false confidence.
Televisions deserve their own rule: mount them or strap them to the wall or stand. Do not rely on the stand alone. Keep remotes, toys, and snacks off the top of the TV. Move heavy books to lower shelves, add drawer stops, and store toys where they can be seen and reached; a toy placed high becomes a reason to climb.
Picture a low dresser in a child's room. The fix may not be new furniture. A strap, a drawer stop, and moving picture books from top shelf to bottom can remove the tipping risk and the reward for climbing.
Gates, outlets, windows, and small parts
Measure the opening before buying a gate. Hardware-mounted gates screw into the wall or banister and are the usual choice at the top of stairs. Pressure-mounted gates suit some doorways and the bottom of stairs, but only where the manufacturer allows. Never stack gates. Check the latch weekly; a gate a child can rattle loose will eventually be climbed.
| Gate type | How it stays put | Best location | Wall or frame |
|---|---|---|---|
| Hardware-mounted | Screwed to wall or banister | Top of stairs | Small holes to patch |
| Pressure-mounted | Pressed against the frame | Doorways, some stair bottoms | No holes |
| Retractable | Rolls up | Narrow hallways | Usually no holes |
Use outlet covers on unused sockets, and choose tamper-resistant receptacles where local rules allow. Never leave a cord dangling within reach of a crib or playpen. Shorten cords and keep extension cords out of walkways. A loose outlet, a warm switch, or any wiring change belongs to a licensed electrician.
Move beds, chairs, and changing tables away from windows. Fit window stops or guards that limit how far a window opens; screens are not barriers. Use cordless blinds where possible, and secure existing cords high with a cleat.
Test small parts with a toilet paper tube: if an object fits inside, it is a choking hazard for a young child. Check coins, buttons, beads, game pieces, marbles, toy parts, and bottle caps. Button batteries and high-powered magnets are urgent; if you think a child swallowed one, call emergency services or poison control at once. Check toy age labels, keep older siblings' toys in a separate bin, and pick up every fragment of a burst balloon.
Water, poisons, and emergency numbers
Bath seats and rings do not make a bath safe; an adult hand is still required. Empty buckets, basins, wading pools, and the tub after use. For a pool, use a four-sided fence with a self-closing, self-latching gate, keep chairs and tables away from the fence, check drain covers, and know where the pump shutoff is. Swimming lessons are one layer of protection, not a replacement for supervision.
Medicines, vitamins, cleaning products, laundry pods, alcohol, and vaping supplies belong in a locked cabinet, high and out of sight. Keep products in their original containers; never pour a cleaner into a drink bottle. Put the local poison control number on the fridge and in every caregiver's phone. In the United States, Poison Help is 1-800-222-1222. Install carbon monoxide alarms near sleeping areas and have gas appliances serviced by a qualified technician.
Write the local emergency number, poison control, your pediatrician, and one nearby adult on a card in the kitchen. Add it to every phone used at home. Show a babysitter the card and the gate latches before the first evening. Practice the address, the child's age, what happened, and whether the child is awake and breathing. Do not delay a call to find an insurance card.
Childproofing drifts. Latches loosen, gates get left open, and alarm batteries run down. A monthly ten-minute walk-through keeps it honest. Fold it into the cleaning routine and rotate the focus: one month gates and latches, the next anchors and cords, then medicines and alarms.
The generator builds a weekday plan from household size and daily cleaning time. Assign one room per weekday, then use the weekend reset for checks a normal clean skips: tug each anchor strap, test each gate latch, press the test button on smoke and carbon monoxide alarms, and look for newly reachable hazards. Add a monthly note for medicines and cleaning storage. That rhythm keeps the setup current as your child grows.
How To Childproof Your Home FAQ
How early should we start childproofing?
Start the floor-level tour before a baby is mobile, then add gates and anchors before crawling and pulling up. Recheck every room at each new skill; a hazard out of reach last month may not be now. Anchoring furniture and locking medicines can be done at any stage.
Are outlet covers enough to make a room safe?
No. Covers are one layer. Anchoring furniture, securing blind cords, locking poisons, and installing smoke and carbon monoxide alarms do more. Tamper-resistant receptacles and tidy cords beat a bag of covers.
Can we use a pressure-mounted gate at the top of the stairs?
Follow the manufacturer's instructions. Many pressure gates are not rated for the top of stairs, where a hardware-mounted gate is the usual choice. If you rent, ask permission before drilling, and ask your landlord or a professional about the fixing.
What should we do if a child swallows something?
Call emergency services or a poison control center right away, especially for button batteries, magnets, medicines, or cleaning products. Do not wait for symptoms, and do not try to make the child vomit. This article is general guidance, not medical advice; follow your local emergency service or clinician.
Pick the room your child uses most and do the floor tour before the weekend. Fix the three easiest hazards now, list the rest by room, and anchor the tallest furniture first. Then attach the monthly check to your cleaning plan. For more home systems, see our Home Systems & Fixes guides, and build a room-by-room rhythm with the Cleaning Schedule Generator.
Daniel Reyes spent ten years in residential maintenance before moving into writing. He covers seasonal upkeep, cleaning systems, stain removal, and the repairs homeowners can safely handle themselves, with clear notes on when to stop and call a professional.